The best way to Remove Asphalt Tile Adhesive From a Concrete Floor

Tiling is of interest because of its own physical toughness and its inexpensive, including resistance to grease, oil and mildew. It it takes a powerful adhesive to to keep it and that adhesive can be significantly more difficult to eliminate as opposed to asphalt tiles when the time comes to remove or change the tiling. Chemical remedies, primarily solvents, may be employed to weaken the adhesive therefore their use is unwanted, but these are usually very flammable health insurance and harmful for your health. An approach that is safer would be to chip the adhesive in the surface that is concrete.

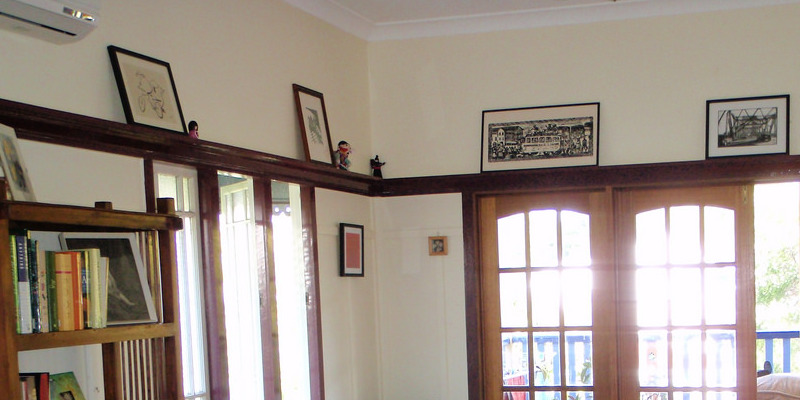
Clear the whole ground of hurdles. Close doorways that are inner to stop dirt from entering the remaining building. Open windows and all exterior doors to provide just as much ventilation as possible. Don heavy duty work gloves.

Make sure the tile remover disconnected from your power supply and is powered down. Fit a new blade on the tile remover. The specific attachment method differs in line with the maker, but the basic procedure requires sliding a blade to the slot loosening the clamp nuts and tightening the nuts. Refer to the product guide for directions that are specific.

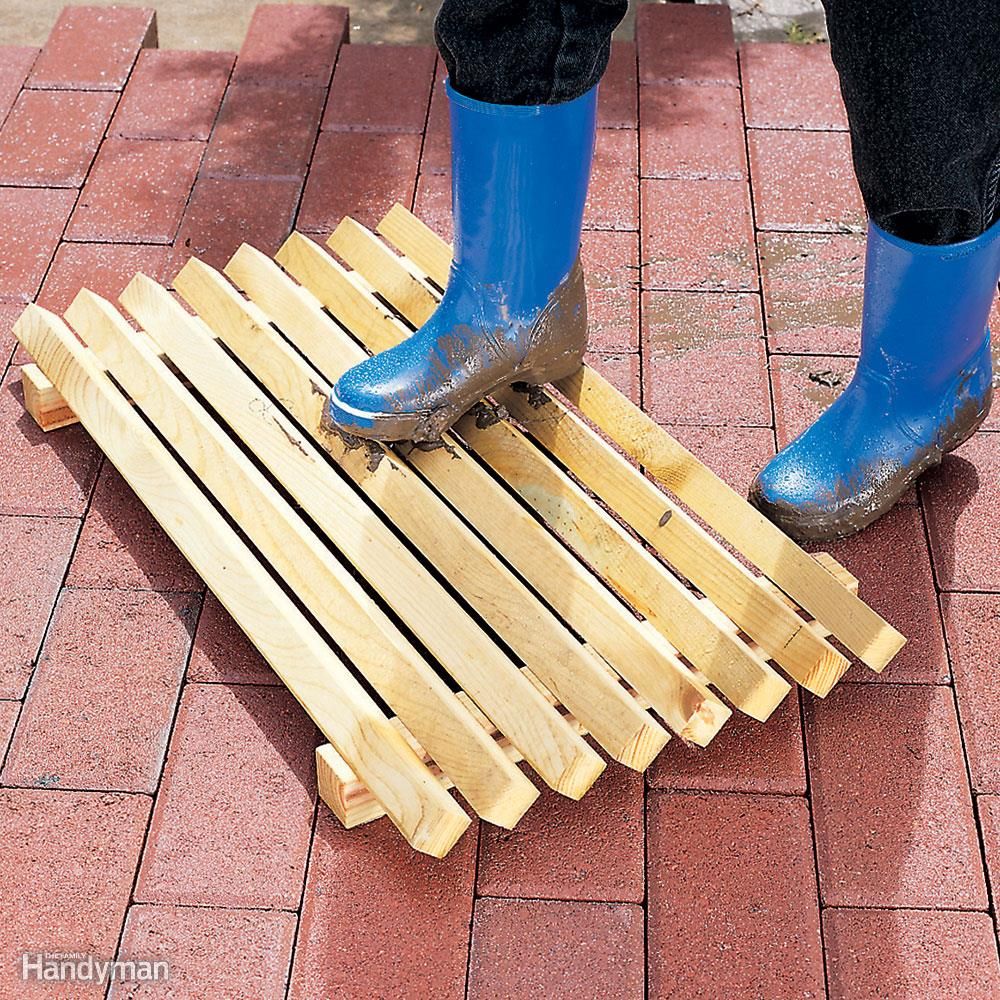
Don safety goggles, security shoes, ear protectors and a dust mask.

Adjust the angle as specified from the documentation of the manufacturer. Start using a reasonably shallow angle between the floor as well as the blade. The goal will be to position the blade with all the front leading edge aligned together with the root of the asphalt adhesive. It is better to begin with the angle which is too shallow than steep — a steep angle might reduce to the concrete and harm the ground.

Connect the tile remover to the powersupply. Position it with the near to the region of asphalt adhesive to be eliminated.

Switch on the tile remover and enable the blade to get as much as speed. Gently transfer the device ahead and permit the blade to start chipping in the adhesive. In the event the blade cuts perhaps not seriously enough, or also deeply, swap it off, disconnect the energy and re-adjust the blade.

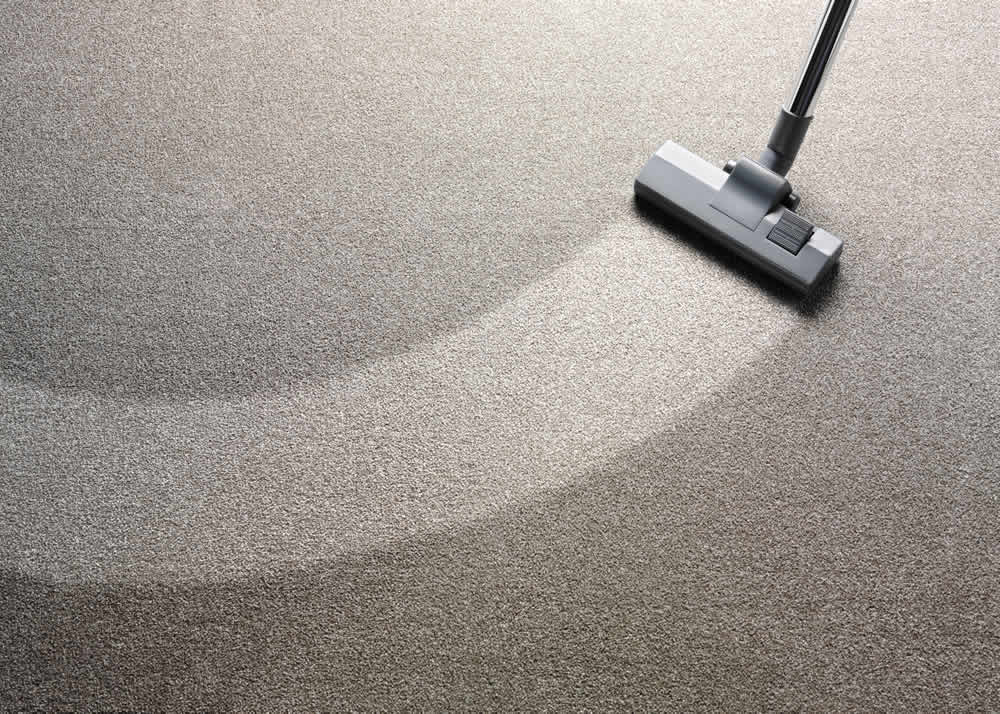
Until it’s eradicated move the tile remover on the other side of the flooring, chipping a-T each section of adhesive. Stop periodically to enable the blade to great and also to sweep-up adhesive chips that are damaged.

See related

Tips on Moving Right Into a Studio Flat

Whether you’re moving from a one- or two-bedroom flat into your apartment or down-sizing, arranging a transfer to a studio offers a diverse set of problems than when getting into into a location that is bigger. The reality that the new condo is tiny does not assure you a fast and painless transition, but with proper planning, you can have before you know it, your new location set up.

Plan the The Area

Before you start selecting furniture for this, measure each wall of the condo. Draw a scale map of the the system and draft a simple floorplan for the the area. Decide where you are going to put your living area, bedroom, eating area and workshop. In order to walk across the area successfully determine just how much area you’ve for each important bit of furniture, and remember to abandon an appropriate sum of space on the floor free. Program and shop especially for the the area you’ve.

Excise Additional Possessions

Studio flats desire life styles that are minimalist, and you might need to cull your possessions, particularly in the event that you had been previously residing in a larger location. Donate or share every thing you do not use frequently. Consider just how much furniture you actually need. Like, think about whether you would certainly be be ready to promote couch and your mattress and re-place them having a day bed that is fold out. Locate a storage trunk that will double as a coffee-table. Reduce the a-Mount of things you plan to transport to your own place.

Organize the Transfer

For two times, schedule your shift if achievable. Plan to move furniture as well as abandon the relaxation of your bins for the 2nd day, and your most essential dwelling materials over on the first day. Take the day-to to arrange the the room and install self storage units that are additional in kitchen or the bathroom if essential. This way, when you deliver your bins within the subsequent day, every-thing h-AS a spot to go. While you search for for ideal cupboards and book-shelves you you may not have to trip over clutter.

Rent a Truck

Do not be fooled by the dimension of your condominium — you nonetheless cannot fit-all your things in one van. Driving forth and straight back across city with numerous loads is annoying and exhausting. When you shift your furniture instead, lease a truck from a moving-company or residence enhancement retailer, a-T least for the day. As comparatively few things are being transported by you, you need to be in a position to fit all of them into the the tiniest and cheapest truck accessible, and also the investment can help you save hours of driving.

See related

Chimney Masonry Repair Tips

Since the warmer weather is already on its way, it’s about time that you get your chimney inspected and get some chimney handyman Evansville repair done. Now is the perfect time to check if there are any problems in your chimney. If there are any problems, they must be repaired immediately while the weather is still good.

When’s the Best Time to Repair Chimney Masonry?

The chimney masonry refers to the bricks and mortar as well as the other materials that extend the chimney. During the winter, these materials may end up getting damaged as a result of outside elements. Overexposure to water could cause these materials to deteriorate.

Moreover, the freeze-thaw cycle could prolong the materials’ contact with water, which will make the matter worse. When the moisture on the materials gets frozen, it will end up expanding and could lead to a lot of issues. In addition, water penetration can also cause damages to the interior and exterior of the chimney.

Among the problems that could be encountered are the following:

Adjacent wood will be rotten and the wall coverings ruined.
The central heating system will deteriorate.
Chimney structure will tilt and collapse.
Damper assemblies will get rusted.
Flue lining system will crack and deteriorate.
Glass doors and fireplace accessories will be rusted.
Hearth support will collapse.
Metal firebox assemblies will deteriorate.

Take Action Before Bad Weather

While the weather is still good, you should take action by scheduling a chimney inspection. In doing so, you’ll have enough time to do handyman Evansville repairs just before the winter starts. Some repairs may need time to warm up and require dry condition in order to get cured properly. If you find out early on that your chimney needs repair, you’ll be able to plan ahead and take advantage of the good weather.

Extensive Chimney Repair

If you find out that your chimney needs extensive repair or that you realize that it is not the kind of job that you can handle on your own, you should call for professional help. There are chimney repair service providers that can provide quality work. They will send over professional technicians who are trained and certified to perform different repair methods. All the damages in your chimney will be documented along with videos and photos and will be shown to you in order to better explain the issues.

On the other hand, if the damages on your chimney are not really that extensive, you can do a few simple repairs on your own. However, make sure that you know what to look for and you know how to properly repair the damages. Again, the chimney repairs must only be done when the weather is warm and dry.

So while the weather is still warm and the winter is still way ahead, you should take this opportunity to protect your chimney. Schedule your chimney handyman Evansville in inspection today just before the cold winds start to roll in!

The best way to Replace a Hammock Cloth

A hammock will offer an enormous dose of summer rest. Stretched from a-frame or whether strung between two strong trees, a hammock is the ideal place for enjoying a second or a nap. The outside area of the hammock leaves it in the mercy of character and susceptible to injury from rain and sunlight. Makers are little resources found when changing a hammock cloth in fabric supply stores that can deliver a powerful attachment technique. Heavy-duty canvas, employed by painters, may be obtained at paint supply shops for the alternative hammock fabric.

Remove the outdated hammock fabric in the hammock body attachment sections at both ends of the fabric with pliers. Measure width and the length of the aged hammock fabric together with the tape measure.

Cut a hammock fabric out using the measurements of the hammock fabric that was aged plus 5″ added to 7″ and the width added to the size.

Fold one quick side of the hammock under 1/2 inch. Fold the side that is same under 3″ and pin the hem in place using the pins that are straight. Repeat on the other side of the hammock fabric. Sew the hem in place utilizing the attachment that is zig-zag on the sewing-machine. Repeat on the other end of the hammock fabric.

Fold one long side edge of the hammock fabric under 1/2 inch. Fold again 2″ and pin set up. Sew the hem in place utilizing the attachment that is zig-zag on the sewing-machine. Repeat of the hammock fabric.

Mark the hammock attachment websites in the edges that are short having a pencil, utilizing the hammock fabric that is outdated as a manual. Attach the brief edges that are grommets to the hammock in the pencil marks, utilizing the device that is grommet. Attach the hammock body to the hammock through the holes.

See related

16 Easy Woodworking Projects for Beginners

Looking for a fun and exciting way to use that extra wood in your garage? We’ve got you covered with an assortment of interesting and attractive handyman services projects that you can complete very fast with common tools.

Here’s to a productive and fun-filled weekend!

1. Shoe Storage Booster Stool

This stool can be used to boost your height when you need to access the upper parts of your closet. It can also be used as storage for your shoes.

2. Wooden Bench

Place this easy-to-assemble bench in your garden to enjoy your plants in peace or catch up on some reading.

3. Small Bench

This is an easy but fulfilling house repairs project that you can complete within minutes. You can use it as your go-to stool while working on other DIY projects too.

4. Magazine Storage Containers

You’ll get plenty of compliments with this creative magazine storage container.

5. Coat Rack

Carpentry has never been easier with this convenient but attractive coat rack. It’s not only an item where you can hang your coats and hats, but it also creates unique interest for your home’s entryway décor as well.

6. Spice Rack

This spice rack can store up to 18 of your favorite spices and it’s super cute and portable.

7. Thyme Saver

This rack will make it easier to see and access your spices from the drawer. You can easily build one with a few scraps of plywood. No special carpentry skills or complicated tools are needed.

8. Rustic Shelf

Using forked tree branches as its support, this rustic shelf adds a touch of nature to your living room, while providing you with added storage for your books.

9. Knife Block

Have you ever seen those cute knife blocks in the store and wonder how they’re made? Well, you can now make them on your own using some leftover boards of plywood and some measuring and bonding tools.

10. Behind-the-Door Shelves

Put your budding DIY handyman skills to work while creating extra storage for your detergents with this ‘hidden shelf’.

11. Ironing Center

This ‘ironing center’ keeps your ironing kit conveniently away when not in use, and easily accessible when needed. All you have to do is to mount a few shelves on the wall for your ironing equipment, and a couple of hooks to hang your ironing board when you’re done using it.

12. Two-Story Closet Shelves

Additional shelves in your closet provide ideal storage for unused items like winter boots in the summer or swimming gear during the winter.

13. Stacked Recycling Tower

Make recycling fun with this tower of stacked recycling bins which are placed inside a wooden frame for ease of cleaning.

14. Swedish Boot Scraper

This accessory is a staple in Swedish farms and a great way to keep your boots clean when coming from the garden on a wet day.

15. Sliding Bookend

This easy-to-make bookend provides instant storage for books and DVDs and it will look stylish on any living room.   

16. Petite Shelves

Use these petite shelves to store your favorite mementos or to keep your desktop organized.

The best way to Repair a Chipped Sink With Enamel Paint

Many houses have a porcelain sink in a bathroom or the kitchen. In case a hard, large item comes into connection with the sink the sleek area of porcelain is simple to clean and preserve but can be vulnerable to chips. When you find a a chip in your sink, it is possible to repair the region with filler. Once dry, the filler can be prepared to be painted so no harm can be viewed and is going to be as tough as the area.

Clean the area across the chip using a sponge and soapy water.

Fold the wet-dry sandpaper right into a triangular form to produce a level. So the epoxy can adhere place your finger on the stage and sand the area to scratch the surface also to eliminate any rust. Wipe away any dust using a tack cloth.

Dampen the suggestion of a fabric in de-natured alcohol and clear the area that is sanded. Allow the area to dry.

Mix the epoxy filler in accordance with the instructions. Kits usually contain a resin along with a hardener.

Apply a thin coat of epoxy filler using a little paint brush in the chip location. Alternatively, it is possible to use the wood part of a matchstick. Add extra coats that are slim although the chip is deep, but wait for every single coat to dry before adding another layer. Refer to the guidelines for the time.

Sand the epoxy filler that is dry with 220-grit sandpaper so the paint will adhere. Apply a thin coat of porcelain-enamel paint that matches the colour of your sink using a little paint-brush.

Wait for every single coat of paint to dry before applying still another coat of paint and sanding the region. Continue to a DD levels of paint until the around sink is matched by the region.

See related

Benefits of a Junk Removal Service

There are many times when tree service Bakersfield, CA services will come in handy for you. At some point, you might have a project running in your home that leaves behind a lot of trash. In most cases, your conventional garbage collection team might not be properly equipped to handle this kind of junk. Therefore, it would be wise to find a company that can deal with it properly.

When you are spring cleaning your house, these services will save you a lot of energy and time. There is a lot of value in hiring a service provider that has experience in handling your junk properly. Assuming that you do not even have a truck to handle the work, a professional company will come in handy.

Below are a few good reasons why hiring a junk removal service will be a worthy consideration for you:

Save on Space

If you are the kind of person who conducts a major cleaning exercise once a year, this will leave you with a lot of room in the house. There are things that you can give to charity like household items, toys, food, and clothing. However, there are others that might not be so easy to dispose of. This is where your tree service Bakersfield, CA contractors will be useful. They do not just collect your trash but they also dispose of them properly.

Green Junk

Material consumption has been a problem for a lot of people today. We end up with a lot of junk and no outlet for proper disposal. In such a scenario, the junk clearing companies will be very useful. If you are worried about recycling efforts, they will assist. Most of these companies make money not just by collecting your trash, but also by recycling the disposed trash.

A Safe and Healthy Home

One of the other benefits of this service is that it allows you to keep a clean and safe home. There are so many things that we leave lying around the compound that are a hazard in the long run. Take the old tires, for example. Mosquitoes breed from here. If you have car parts lying around, they will become a danger to your pets, and your tree trimming Bakersfield, CA company will take care of them for you.

Service Tips

While these services will be useful, you need to know how to make the most of them.

The following are some tips you should pay attention to:

-Always make the most use of these services by cleaning the entire compound, and getting rid of as much junk as you can.
-Where possible, save money by hiring a free removal service. You can use their paid service later.
-Always understand the pricing module that the companies use. There are companies that charge per hour and some by the load.
-Before you call the company, ensure you know what type of junk you need to be removed from your home, and roughly how much of it.
-In case you are disposing of an old vehicle, make sure you have the necessary papers for it, especially proof of ownership.
-Most junk collecting companies will not handle anything that contains hazardous material. In that case, you should get in touch with the relevant local authorities.

The best way to Determine the Size of a Window Screen

Window screens consist of mesh created with artificial fibers like polyester or plastic, fiber glass or aluminum wire. The dimensions of the mesh refers to the amount of areas that exist inside a square-inch of the materials that is woven. Different kinds of window screens are utilized to get a selection reasons; for instance screens are employed to keep small insects like gnats out. Solar insect screens not only keep bugs out, but mirror sun and solar warmth light to from entering your residence during summer months, to to dam up to 90-percent of heat and sunlight.

Template

Cut a 1 inch-by-1 inch square from the middle of a piece of paper to make a counting template that is. Counting the amount of openings it’s per-square inch determines the mesh size. The paper-cut out will help you keep an eye on the line of openings as they are counted by you. Align the edges of the cut using wires that type vertical and horizontal lines in the mesh or the warp. Hold the paper in position on the window display with tape.

Count

The amount of small square openings created across in the top corner up to to the very best right corner. This can be the first amount of the mesh dimension known as basis or the warp of the mesh. Count the amount of small openings in a straight line in the top left corner down to the bottom-left corner. This can be the 2nd amount of the mesh dimensions, known as width or the fill of the mesh. Both of these dimensions will be the dimension of the mesh. For instance, 18 warp openings and 16 fill openings signifies the window display mesh size is 18-by-16, which can be written as “18×16” around the display packaging.

Measure

The diameter of mesh dimensions refers to the diameter or width of the wire or threads of the mesh. Use electronic calipers to calculate the diameter of threads or the wires of the window display. Set the caliper jaws within the display mesh and near a reading to be taken by them and discover the diameter of the mesh. There are wire fabric or mesh calculators obtainable on the web that you could use to seek out the wire-mesh diameter, should you not not need electronic calipers.

Screen Choice

Some window display meshes are coated or laminated using a layer of plastic, producing them mo-Re tough to inquisitive kids palms or encounters with paws pressing to them. The window display mesh that is common is 18-by-16 and produced from aluminum or fiberglass. Porch, patio or pool-side screens have a mesh dimensions of 18-by-1-4. The the tiniest sized mesh is 2-by-2-0; the mesh enables for ventilation while nonetheless retaining out bugs that are small.

See related

Easy Ways to Clean Carpet

Are you the proud new owner of wall-to-wall carpeting? Then you probably know that carpet cleaning Chandler AZ and maintenance is not an easy task. While carpet flooring is a popular option for living areas due to its warm and inviting ambiance, it gets easily soiled and requires quite a bit of upkeep. Stay ahead of the dirt and debris accumulation by vacuuming the carpet at least three times per week, and work to remove the stains that accumulate as a result of daily traffic as quickly as you can. You can clean stains away using store-bought detergent or by creating your own homemade version from simple ingredients.

Below are some tips on how to do carpet cleaning Chandler and remove the most common stains that happen on carpets:

Grease

Grease stains are caused by a number of things, including makeup, dog food, and even children’s crayons. To remove them, start by scratching as much of it off as possible, and then blot whatever stain is left with a piece of cloth that’s been dampened with rubbing alcohol. You might want to take a heavier hand with more stubborn stains by repeatedly blotting it out until the area is clean.

Mud

This is a tricky one because while your first instinct is to clean it while it’s still fresh, experts say that it’s best to wait for the mud to dry first before you start cleaning it. Once it’s dry, you can break it apart and sweep up the crumbs with a vacuum cleaner. Then, pour a few drops of dishwashing liquid into some warm water and pour it onto the dirty spot, dab it thoroughly with a clean sponge, and dry it off with a towel.

Red Stains

Red stains are caused by things like red wine; berries, blood etc. and you can effectively remove them by pouring two capfuls of hydrogen peroxide and leave it on for three or more minutes. This should be followed by a gentle dab using a damp sponge or soft cloth. Then, dry the area with a dry towel and you’re all done!

Ketchup

Fill a cup with warm water and pour in 1 tablespoon of ammonia and transfer to a spray bottle. Spray the mixture onto the affected area and dab it with a towel until the excess liquid has been removed. Repeat until you completely clean it.

Rust

All you need in order to get rid of rust stains is to put some lemon juice on them, followed by a generous sprinkle of tartar. Then, rub the mixture in and leave it on for about 30 minutes or until you notice that the rust has disappeared. Blot (don’t rub!) any remaining remnant of this solution and gently dry it using a towel.
General Maintenance

In addition to regular vacuuming and stain removal, you should also do Chandler carpet cleaning at least once a year with a steam machine, and if you can’t afford to buy one then you can hire it out at a nominal cost.

What to Do When You Hire a Home Cleaning Service for the First Time

Are you planning to hire a house cleaning Tempe service for the first time? Well, it’s okay if you are confused. There are many people who want to hire these services yet they don’t actually know how to go about this process. Getting a home cleaning service has many benefits. To start with, it will help clear that mountain of dirty dishes in the sink and all the clutter. A cleaning service will also ensure that your home is well kept so that you can spend your time doing the things you love.

There are a few rules you must keep in mind when looking for a maid service Tempe cleaning service:

Know How Billing is Done

Normally, billing for cleaning services at home is done by the hour. When someone posts an ad for a cleaning job, they will indicate how long they think the job will take. The amount of time needed to clean the home will, of course, depend on its size. However, there are some cases where a small sized space can take very long to clean, especially if it has not been cleaned in a while. As you look for a cleaning service provider, always keep in mind the workload and the time needed to get it done.

Cleaning Before a Cleaner Comes

There’s some level of cleaning that needs to be done before the cleaner arrives. For example, it’s often advised to clear off any clutter around the house. If there are socks laying around, pick them up and put them in their place. This will make it easier for the cleaner to do their job and it will reduce the hours needed to complete the work.

To Stay or Not to Stay

The dilemma that people face when they hire a cleaning services Tempe service for the first time is whether to stay at home during cleaning or not. Some may feel that staying while the cleaners work might feel weird. But there are those who may not feel comfortable leaving strangers alone in their home. It all depends on you. If you feel comfortable staying then it’s okay. But if you want to get out for a few hours, it’s still fine.

What’s Off Limits?

The house cleaning Tempe AZ will not clean everything. Things like blood, pet mess, and urine are off limits to most cleaning services. Hazardous materials and block mold are always off limits for many cleaners too. There are also other technical cleaning jobs like duct cleaning, gutter cleaning, and many others that may not be within the purview of the cleaning service. Always consult the cleaner to know what they can do and what they can’t.

These are basically some of the things that you need to consider as you hire a cleaning service for the first time. The cleaning service provider can do pretty much every chore at home. As for tipping rules, well, you don’t actually have to tip. The service fee you pay should be good enough.